Solar v2 – choosing the components

Since my first attempt at solar, I have learnt a few things and several new bits of tech have been introduced into the market. Some of the new tech include; all-in-one inverters, bigger “better” batteries, shingled solar panels and micro-inverters…

Time to take the learnings from my first solar project and scale-out

New Parts

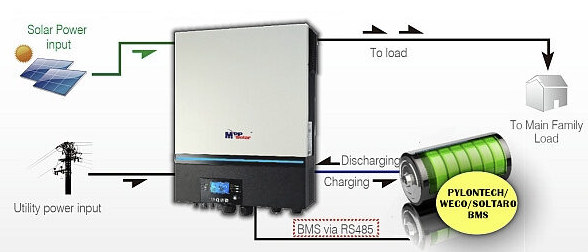
An all-in-one solar inverters can include the following functions in a single device;

  • Solar Controller – MPPT (2x string inputs)
  • Inverter – Converts DC (48v) to AC (pure sine wave @230v, 50 hertz)
  • Battery Charger –
    • from Grid (AC -> DC)
    • from Solar Panels (DC -> DC)
  • ATS / Line mode – Flicks over to Grid if solar or batteries are low
  • BMS, Timers and Controls – Can program battery types, priorities and timers depending on how you want to power your loads and utilize your batteries.
  • Stats / Alerts – WIFI enabled

I have committed to an 8kW PV all-in-one inverter. My house doesn’t have a north-facing roof, but it has a NE and NW facing roof which isn’t too bad, the bonus of having 2 string feeds on the inverter means that each side of the roof will act independently without dragging down the total power output.

I’m currently running a few lead-acid batteries on my solar. I’ve been in two minds about whether I continue with batteries or go with a hybrid system that effectively uses the grid as a battery. I ended up deciding to go with batteries one last time, here in NZ the solar rebate is not really worth the effort of exporting – we typically get wholesale prices which can be 1/3 of the cost of power. I’ve also been pretty excited about how quickly the new LiFePO batteries can charge and discharge, so I’ve committed to a couple of 48v PylonTech batteries in a stack, totaling 7kWh.

Us3000 48v/74ah 3.5kwh Lithium Battery Solar Battery Pylontech 48v  Residential Battery - Buy Pylontech Us3000,3.5kwh Lithium Battery,10kwh  Lithium Battery Product on Alibaba.com

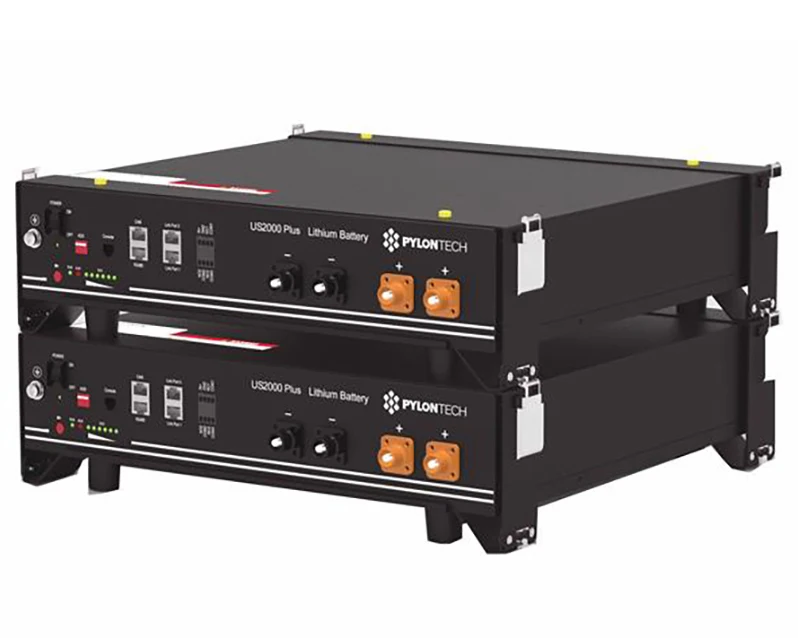
They can peak at 100A (15s) but the recommended rate is 37A each. At 48v this will give me a charge / discharge power rate of 3.55kW (37A x 48V x2) in total. In some cases it may be beneficial to charge with cheaper off-peak power from the grid.

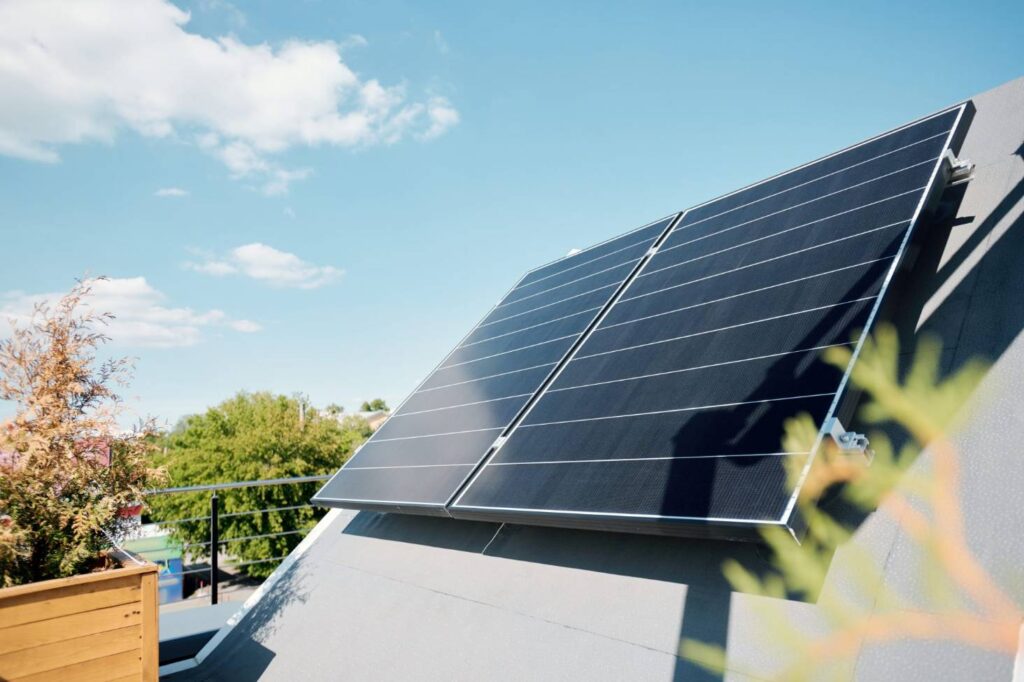
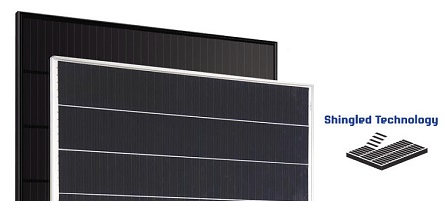
Singled solar panels are pretty nice, with more surface area and better resiliency. I found a 480W mono Hyundai panel which I’ll use to build 2 strings of 4 panels. In total, this gives me 3.84kW (480W x 4 x 2)

In terms of power, for my next venture I decided to stay with the more traditional DC solar panels. There is however another choice thanks to the introduction of micro-inverters. These little devices convert power on each panel direct to AC, which includes several advantages; higher voltage, operate in parallel (independent of other panels). Each also has its own sensors if you want to see stats!

The next sections – powering things, ROI, the build, safety

Copper wire gauge and max amps

Do not skimp on your wiring across your solar installation. Pushing too many amps across a wire that is too small can cause fires and short your installation – this is dangerous!

A rightly sized wire reduces resistance and can assist with reducing voltage drop.

For example, in my system i have a 1000W inverter attached to my 24v battery. If i’m pulling 1000W, then amps 1000W / 24V = 41.67A. Meaning i should be using a 6 gauge wire (see below) between my battery and inverter.

Solar panels can be attached in series to increase their voltage, this is one method for reducing amps over the wire. But, keep in mind that if you raise the voltage you will need a way to reduce it back down to match the voltage of your battery. i.e. in most cases it would be best to utilize a MPPT solar controller to automatically convert the power from your solar panels to you battery.

As a GUIDE to maximum amps across a copper wire ;

  • 14-gauge wire: 15 amps
  • 12-gauge wire: 20 amps
  • 10-gauge wire: 30 amps
  • 8-gauge wire: 40 amps
  • 6-gauge wire: 55 amps
  • 4-gauge wire: 70 amps
  • 3-gauge wire: 85 amps
  • 2-gauge wire: 95 amps

Note : length of wire also determines its resistance. I have not covered it here, but if running wires over large distances you will also require a lower (fatter) gauge wire. Try to keep high amp loads across short distances. i.e. keep your inverter near your batteries.

Home Solar Experiment

So I’ve been busy building a new solar array, mostly as a hobby and its been crazy fun. Electrocuted my self twice, but luckily nothing too bad.

I’ll write up some more detail round the build, the metric collection and the things i have learnt over my time.

Keep in mind that NZ is in the southern hemisphere, so its winter as i’m writing this. Low sun hours! Stats publicly available via grafana here – https://grafana.sigtar.com

For now a quick summary of my build below;

Build Details;

  • Solar Controller 1 x EPEver MPPT (Max 30A, 720W @ 24v)
  • Solar Panels 6 x 100W (5.2A 19.25V) – 600W in series & parallel (10.4A x 57.75V)
  • Battery 4 x 6V (US Battery 232AH @ C20) – 24V in series
  • Inverter 1 x EPEver 1000W (Pure sine wave) – 24V DC -> 230V 50Hz AC

Controller Settings;

  • Boost and Equalize duration : 120M
  • Over Volt : 32
  • Equalize Charge Volt : 29.6
  • Boost Charge Volt : 29.2
  • Float Charge Volt : 27.6

Software details;

  • Influx DB – 90 day retention
  • PHP script polling Solar controller every few seconds – parsing results into db
  • and of course Grafana!
  • all docker images on UNRAID server

Whats next?

  • ATS – maximize my solar power with 24hr loads :p
  • Batteries – Switch to LiFePO4 batties (Lead acid suffers from small DOD of approx 50% and voltage drop under under load)
  • Wind – hard to find anything that would work in my urban area. Must retire to the hills before i get into that! ;)